
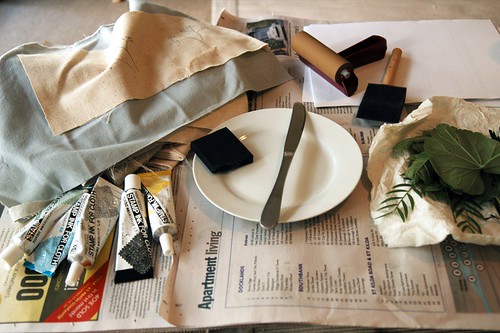
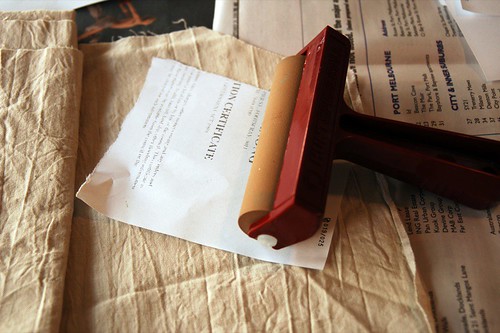
what you need: fabric paint, plate and a knife to mix colours should you desire to do so, cotton or linen fabric, roller, sponge brush, newspaper, scrap paper and, of course, leaves.
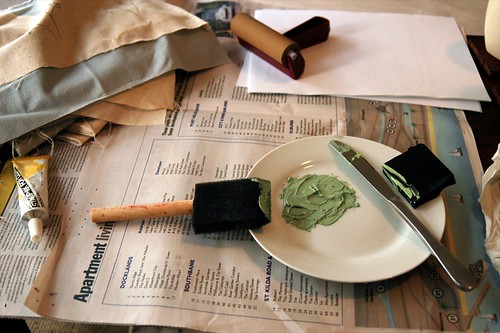
1. Spread newspaper down over your work space and mix up a custom colour to your liking:
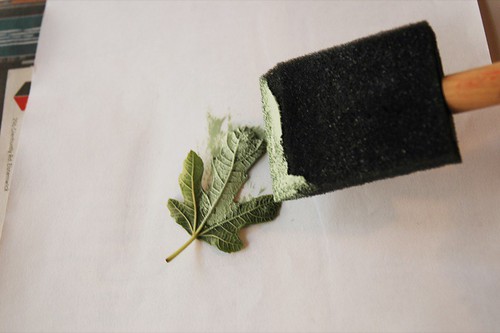
2. Place the leaf with veiniest side up on a scrap piece of paper and, using your sponge brush, dab it with paint until evenly coated (not too thick though).
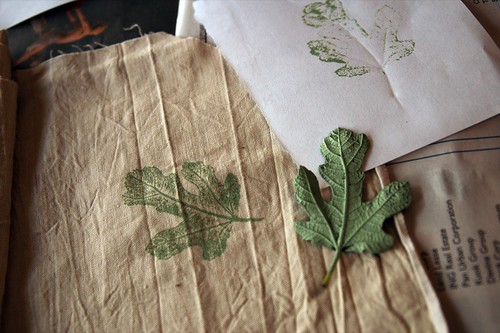
3. Now place the leaf, paint side down, onto the fabric. Cover with a piece of scrap paper to avoid getting paint on your roller, hold the paper down and roller over top of it, using even pressure.
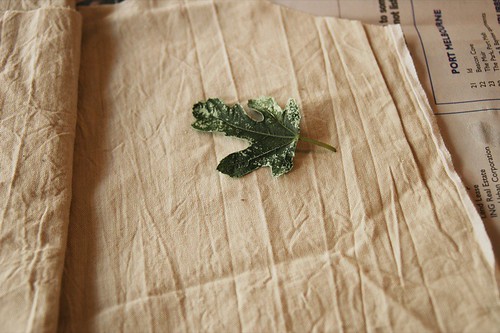
4. Remove the piece of paper, peel back your leaf and there you have it!
i'd love to see what other people do with this technique, drop me a note if you do some leaf printing of your own!
TIPS:
• i use gocco stamp paint 'cause that's what i have on hand and it works great but i'm sure any fabric paint would be fine.
• look for leaves that have prominent veins and a non-waxy coating (the hairier the better, in this case, as the paint sticks better to the surface.)
• if you find leaves but don't want to print right away, wrap them in damp paper towel, pop them in a plastic bag and stick them in the fridge. the fig leaf i used here was in the fridge for a week before i got around to using it!
Thanks honey, I've always wanted to see how that's done.
ReplyDeleteGotta go, have to find some leaves.
Thanks for the tutorial! I'll definitely be trying out that one! :)
ReplyDeleteThanks for showing us how it's done. Great pictures.
ReplyDeleteHey Les, this looks super fun!!! I wish I could send you some of the leaves from our neighborhood to use - so many nice, big ones!!
ReplyDeleteFantastic! I must try this. Thankyou.
ReplyDeletethat is a great tutorial. I promised someone I would do a relief print tutorial. I have taken the photos..just haven't posted it.You have given me a push along, thanks.
ReplyDeletegreat tute! awesome choice of leaf, too. i'll have to keep my eye out for one that's similarly veiny :)
ReplyDeletethanks for posting this :)
wow, lovely .. will definitely try this out soon, thanks for sharing :)
ReplyDeleteHi Les! Could you send me your email address; it's been ages and I'd really like to swap updates/information. We're all fine (except that you Oz people are stealing our summer)and hope all is well with you too.
ReplyDeletefritzk@shaw.ca
Oh, this is so simple but really effective! I will so be trying this out over the weekend. Thanks for sharing!
ReplyDeleteThanks you for sharing this! I know exactly what I want to do with it...I want to do it right now, but it's too dark outside and I'll have to wait until tomorrow. :(
ReplyDeleteHey There:
ReplyDeleteThanks very much for your clear and well documented procedure. I want to try this on some walls. Could be tricky on the vertical...but I'm excited to try. Thanks!
Glad to see other folks use this technique as well. I enjoy printing on paper and making cards out of it. When the paint is still wet, you can sprinkle some very fine clear glitter on it. It makes it look very finished and professional!
ReplyDeleteGood Job! :)
ReplyDeleteThanks so much for that...I will be off for supplies!
ReplyDeleteGreat idea, i have linked to this tute in my blog today - nice work!
ReplyDeleteLovely project - thanks for the tutorial!
ReplyDeleteBeautiful, we want to try immediately.Thank You
ReplyDeletewonderful tutorial!! Thanks.
ReplyDeleteThanks! this is from a kinder teacher at 4:00 am getting ready for tomorrow leaf printing!
ReplyDeleteOh very nice, wonderful tutorial! this is so simple but really effective tips! I will so be trying this for my printing.
ReplyDeleteThank you for sharing it!
Pretty interesting site you've got here. Thanx for it. I like such themes and anything that is connected to them. I definitely want to read a bit more on that blog soon.
ReplyDeleteSincerely yours
Alice Tudes
Just found you through kootoyoo - thanks for the tutorial I love it, and will be trying it just as soon as I can go leaf hunting!
ReplyDeleteEu adorei, obrigada.Muito bem explicado, bjus
ReplyDeleteWonderful tutorial. I've been thinking about trying this for some time now.
ReplyDeleteThanks for the push.
Frannie
This is very pretty, thank you for sharing :)
ReplyDeleteThank you so much. Great !
ReplyDelete